

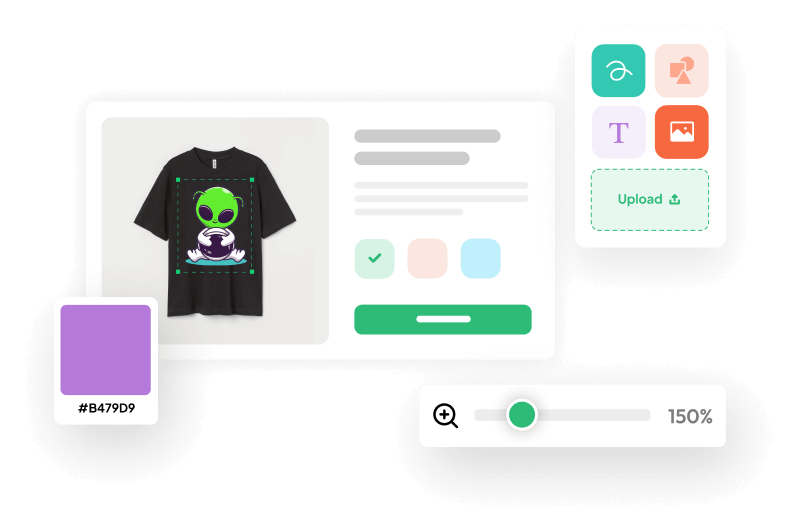
Designing your own t-shirt used to mean minimum orders, setup fees and a lot of guesswork. Today you can create a one-of-a-kind shirt from your laptop or phone, preview it on the garment, and have it printed and shipped as a single piece. Whether you want a personal gift, a shirt for your team, merch for a small brand or simply something nobody else has, this guide walks you through how to design your own t-shirt step by step, from the first idea to the finished print.
Step 1: Start With a Clear Idea and Purpose
Before you open any design tool, decide what the shirt is for. The purpose shapes every other choice you make.
- A gift: a name, an inside joke, a photo or a meaningful date works well.
- An event or team: a logo, the event name and the year keep it simple and easy to read from a distance.
- A brand or small business: your logo plus a short tagline creates a clean, professional look.
- Personal style: an illustration, a quote or a graphic that reflects your taste.
Write down the message in one sentence. If you cannot explain the design in one line, it is usually too complicated to read on a shirt.
Step 2: Choose the Right Garment
The garment is the canvas, and it changes how the final design looks and feels. Think about who will wear it and when.
- Classic t-shirt: the most versatile option for everyday wear and large groups.
- Oversized or heavyweight tee: a modern streetwear fit with a more premium feel.
- Hoodie or sweatshirt: great for colder seasons, teams and merch that people keep for years.
- Kids and baby sizes: perfect for family events and matching outfits.
- Hats and accessories: ideal for logos and short text.
Fabric matters too. Soft ring-spun and combed cotton feels smooth against the skin and gives a crisp print surface, while cotton-polyester blends hold their shape well and resist shrinking. If comfort is the priority, look for 100% cotton; if you want durability for sports or workwear, a blend is a smart choice.
Step 3: Pick a Shirt Color That Supports the Design
Contrast is everything. Dark designs on light shirts and light designs on dark shirts are always easy to read. A few quick rules:
- Black, navy and charcoal make bright colors and white text pop.
- White and light heather shirts work best for detailed, colorful artwork.
- Avoid placing a design on a shirt of a very similar shade, because it will disappear from a distance.
- Limit your palette to two or three main colors for a clean, professional look.
Step 4: Prepare Your Artwork
Good artwork is the difference between a shirt that looks professional and one that looks blurry. Keep these technical points in mind:
- Resolution: use high-resolution images, ideally 300 DPI at the size you want to print. A small image stretched to fill the chest will look pixelated.
- File type: PNG files with a transparent background are ideal, because only your design is printed instead of a white box around it.
- Size: a standard front print is roughly the width of an A4 sheet; a left-chest logo is usually 3 to 4 inches wide.
- Fonts: choose bold, readable fonts and avoid very thin lines, which can lose detail on fabric.
You do not need to be a professional designer. Free tools can help you create a simple text or logo design, and you can also start from a ready-made template and personalize it.
Step 5: Decide on Placement
Where the design sits on the shirt changes the whole look. The most popular placements are:
- Center chest: the classic choice for graphics and slogans.
- Left chest: a subtle, clean spot for logos, ideal for uniforms and brand merch.
- Full back: great for event shirts, team names and large artwork.
- Sleeve: a small detail that makes a design feel premium.
A common professional combination is a small logo on the left chest with a larger graphic on the back.
Step 6: Choose the Printing Method
The printing method affects color, feel and durability. For custom and small orders, three methods are the most common:
- DTG (direct-to-garment): prints the design straight into the fabric, giving a soft feel and excellent detail. Best for colorful artwork and photos on cotton.
- DTF (direct-to-film): transfers a printed film onto the garment, producing vibrant colors that work on many fabrics, including blends.
- Embroidery: stitches the design with thread for a raised, premium finish. Best for logos, hats and hoodies.
Not sure which to choose? Read our full comparison: DTG vs DTF vs Embroidery: Which Is Best for Custom Apparel?
Step 7: Design It Online and Preview It Live
The easiest way to bring everything together is an online t-shirt designer. With the ZEYRO designer you can:
- Choose your garment, color and size.
- Upload your artwork, logo or photo, or start from a template.
- Add text and choose fonts and colors.
- Move and resize the design and see a live preview on the shirt.
- Add it to your cart when you are happy with the result.
Always zoom in on the preview before ordering. Check spelling twice, make sure nothing important sits too close to the seams, and confirm the design is centered.
Design Ideas to Get You Started
- Family and friends: matching shirts for reunions, birthdays, trips or bachelor and bachelorette parties.
- Small business merch: your logo on the chest and your website or slogan on the back.
- Sports teams and clubs: team name, player numbers and the season year.
- Events and fundraisers: event name, date and a simple illustration that people will want to keep.
- Personal art: turn your own drawing, painting or photography into a wearable piece.
- Quotes and messages: a short phrase that represents your values or sense of humor.
Step 8: Order a Sample First
If you are designing for a team, an event or a brand, order one shirt before placing a larger order. Seeing and wearing the real product lets you check the size of the print, the colors and the fit. Because ZEYRO prints every item on demand, you can order a single piece without minimums.
Common Mistakes to Avoid
- Using low-resolution images taken from the internet.
- Putting too much text on one shirt.
- Choosing a design color that blends into the shirt color.
- Ignoring sizing: check the size guide, especially for oversized fits.
- Using images or logos you do not own the rights to.
How to Care for Your Custom T-Shirt
A well-printed shirt can last for years if you treat it right. Wash it inside out in cold water, avoid bleach, tumble dry on low or hang to dry, and never iron directly on the print. These simple habits protect the colors and keep the fabric soft.
Frequently Asked Questions
Can I design a t-shirt without design skills?
Yes. Start from a template, add your own text, or upload a simple logo. The live preview shows exactly how it will look before you buy.
Is there a minimum order?
No. ZEYRO prints on demand, so you can order a single custom shirt. For larger team and brand orders, you can request a quote.
What file should I upload?
A high-resolution PNG with a transparent background gives the best result.
How long does it take?
Each item is made to order and then shipped. See our Shipping Policy for current delivery times.
Ready to Create Yours?
You now know how to design your own t-shirt like a pro: start with a clear idea, choose the right garment and color, prepare clean artwork, and preview everything before you order. Open the ZEYRO designer and bring your idea to life, or browse our ready-made graphic tees and hoodies for inspiration.
